






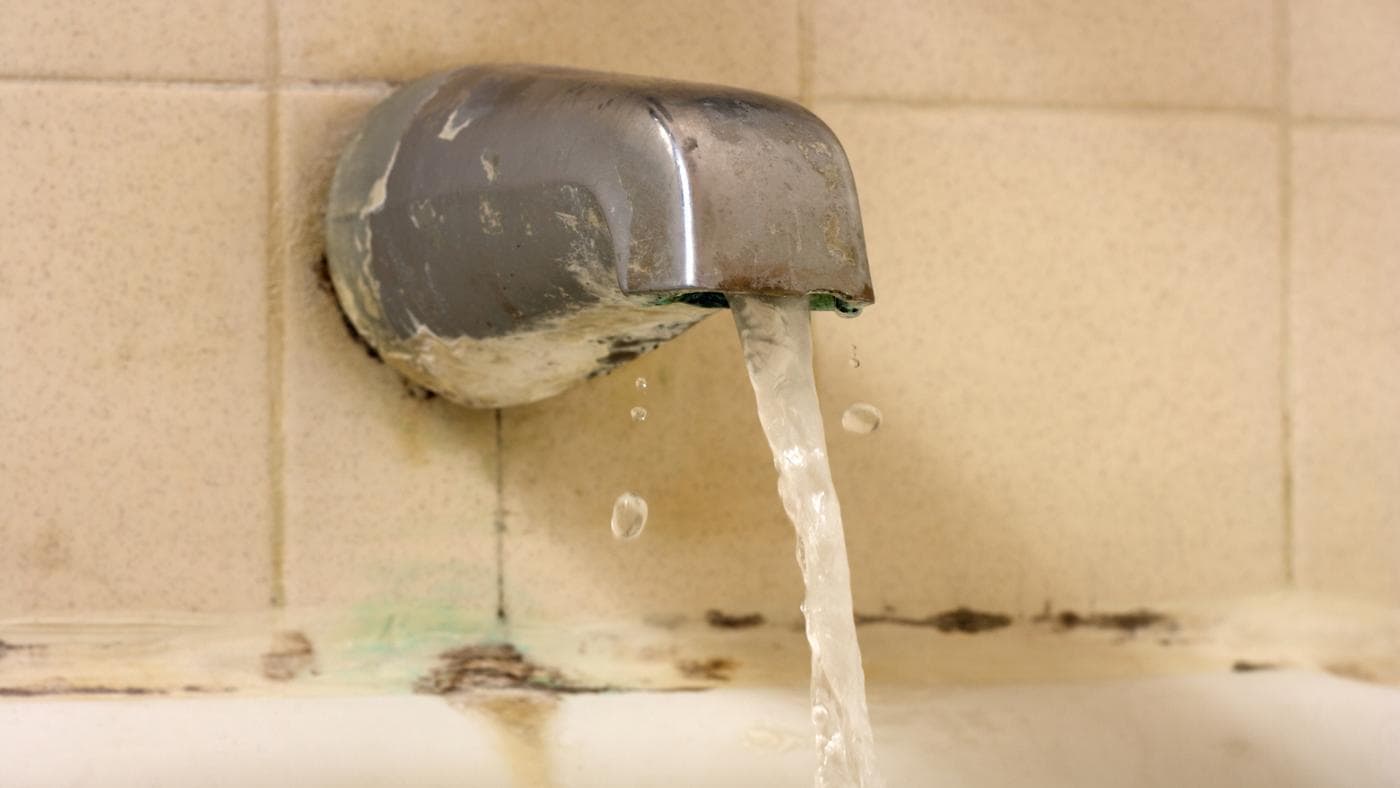
Dark spots on the ceiling, black specks in the grout between tiles, a distinctive damp smell—all these are signs of the uninvited and dangerous presence of mold. Many people try to simply paint over or wash away these stains, but within a month they reappear, even larger and more aggressive. Fighting mold isn't a cosmetic cleaning, but a comprehensive undertaking that requires understanding the causes of its occurrence. I've encountered dozens of cases, from small spots to actual fungal colonies eating away at the plaster, and I can say with certainty: mold can only be defeated by eliminating the source of the problem—excess moisture. Let's figure out why mold is so prevalent in bathrooms and how to eliminate it once and for all.
Mold is a living organism, a microscopic fungus. It doesn't need much to thrive: constant humidity above 70°C/100°F, an air temperature of 20°C to 25°C, no direct sunlight, and poor ventilation. The bathroom fits all these criteria perfectly. Steam from the shower, drying laundry, condensation on cold pipes, and leaks all create a favorable environment. Mold spores are everywhere, including the air in your apartment. But they only germinate and form colonies where the conditions are right. Therefore, simply treating the stain with chemicals is a half-measure. You need to change the indoor microclimate.

Why is black mold dangerous for your health and home renovations?
Don't dismiss mold as a simple contaminant. It poses a serious threat to both the health of residents and the integrity of the apartment's finishes.
- Harmful to health. Mold releases millions of microscopic spores and volatile organic compounds (mycotoxins) into the air. Inhaling these can cause a host of problems: chronic runny nose, cough, sore throat, headaches, and allergic reactions (dermatitis, rhinitis, conjunctivitis). Mold is especially dangerous for children, the elderly, and those with weakened immune systems or asthma. It can trigger asthma attacks.
- Destruction of finishing materials. Mold feeds on organic matter. In building materials, this can include cellulose in wallpaper, drywall, wood elements, adhesive in tile grout, and even some types of paint and sealants. The fungus literally "eats" these materials, making them loose and destroying them. Tiles may begin to peel, grout may crumble, and wallpaper may become blistered.
Therefore, the fight must begin at the first signs, without waiting until black spots cover the entire wall or ceiling.
An arsenal for the fight: from household chemicals to folk remedies
If mold has just appeared (small spots on seams or walls), you can try removing it with household or specialized products. It's important to wear gloves, a respirator, and keep the area well ventilated.
Industrial antiseptics and fungicides
Building supply and household chemical stores sell concentrated products specifically designed to kill mold. These are called antiseptics or fungicides. They typically contain chlorine compounds, quaternary ammonium compounds (QACs), and boric acid. Popular brands include Dali, Fongifluid Alpa, Olimp Stop-Mold, and Biotol-Spray. Their advantage lies in their prolonged action: after treatment, they create a protective layer on the surface that prevents the return of mold for several years. They are applied with a brush or spray to a pre-cleaned and dried surface.
Proven folk methods
If the fungus hasn't spread significantly, home remedies are also effective. They're less toxic, but require more effort.
- Vinegar. Table vinegar (6-9%) is a weak acid that kills many types of mold. Apply it to the affected areas with a spray bottle or sponge, leave it for an hour, then wipe the surface with water. The smell will dissipate within a few hours.
- Hydrogen peroxide. Pharmacy hydrogen peroxide 3% has antibacterial and antifungal properties. Spray, leave for 10-15 minutes, scrub with a brush, and rinse. May have a bleaching effect on colored surfaces.
- Soda and vinegar. Sprinkle baking soda between the tiles, then spray vinegar on them. It will start to fizz. After it finishes, scrub the grout with an old toothbrush and rinse. The baking soda acts as a mild abrasive and deodorizes.
- Bura. A natural mineral and a powerful fungicide. Dissolve a cup of borax in 2-3 liters of hot water. Apply the solution to the surface with a brush; do not rinse. Borax forms a protective film.
- Copper sulfate. An effective but toxic solution. Dilute 100 grams of copper sulfate in 10 liters of water. Apply to the affected areas with a brush 2-3 times, 24 hours apart. After the solution has completely dried (after 2-3 days), the surface can be painted or finished. Wear full protection when working!
Algorithm for a major fight against serious defeat
If mold has penetrated deep into the plaster, behind drywall, or under tiles, half-measures won't do. A radical renovation is required.
- Dismantling. Remove all affected materials ruthlessly. Remove old grout from the joints, scrape off paint or whitewash from the ceiling, and remove wallpaper. If the mold is on the wall under the tiles, those tiles will also need to be removed. If the mold has penetrated the plaster, it must be knocked down to the supporting wall (brick or concrete).
- Dry thoroughly. Exposed areas need to be dried. Use a heat gun, a hair dryer, or simply leave the room for a few days with the heater on and the door open.
- Priming with antiseptic. The dried base (concrete, brick) must be treated with a deep-penetrating primer with antiseptic additives. Don't skimp; apply 2-3 coats, allowing them to dry in between.
- Restoration of finishing. Only after this can new plaster or putty be applied, tiles installed, or paint applied. An antiseptic can also be added to plaster and putty mixtures. For grouting, choose compounds with fungicidal properties.
Key Prevention Measures: How to Create Unbearable Conditions for Mold
Any problem is easier to prevent. To prevent mold from ever appearing in your bathroom, you need to deprive it of its main ally: moisture.
- Working ventilation. This is the basics. Check the draft in the ventilation grille. Place a piece of paper against the grille—it should be drawn toward it. If there's no draft, clean the duct or install a forced-draft exhaust fan with a timer or humidity sensor.
- Elimination of leaks. A dripping faucet, a leaking drain, or condensation on cold water pipes are all sources of moisture. Eliminate them. Pipes with condensation can be insulated with special casings.
- Proper heating and drying. A heated towel rail should always be warm; it not only dries towels but also dehumidifies the air. Avoid drying large loads of laundry in the bathroom. If you do dry clothes, turn on the fan and open the door.
- Regular ventilation. After taking a shower or bath, leave the door to the room open for 15-20 minutes to allow the moist air to enter the apartment and dissipate.
- Use of moisture-resistant materials. When renovating your bathroom, choose moisture-resistant gypsum board (GKLV), cement plaster, paints for damp rooms, and grout with fungicides.
Fighting mold is a systematic approach. Removing stains one-time without changing the microclimate will only provide temporary results. Create a dry, well-ventilated environment in your bathroom, and you'll forget about black stains and musty smells forever. Your family's health and the safety of your renovation are worth it.