








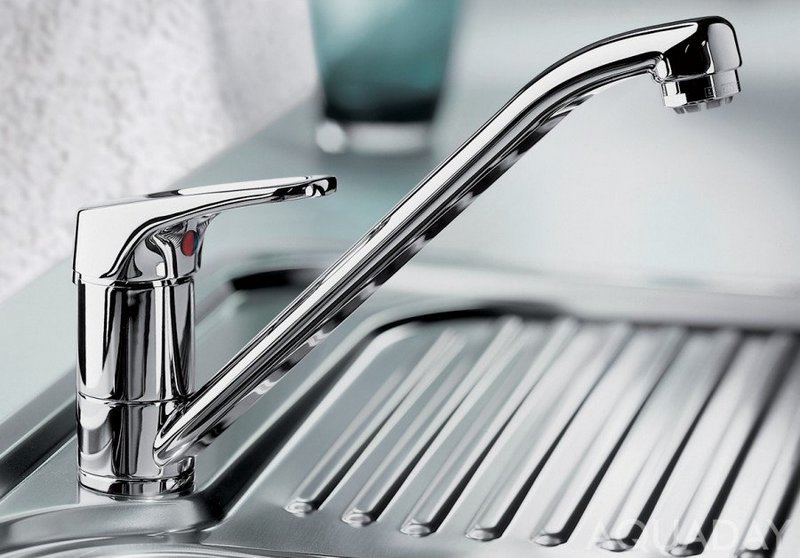
Single-lever faucets, often referred to as joystick faucets, have long been popular due to their convenience and sleek design. With a single movement of the hand, you can adjust both the water pressure and temperature, which is especially valuable in the kitchen or when your hands are full. These faucets come in two main design types: ball faucets and those with a ceramic cartridge. While similar in appearance, their internal design and operating principles differ, which impacts repairability, durability, and maintenance costs. Understanding what's inside your faucet will help you easily diagnose and fix problems without resorting to professional help.
The operating principle and internal structure of a single-lever mixer
The ball valve mechanism is an earlier design. Its core is a hollow steel ball with three openings: two inlets (for hot and cold water) and one outlet. The ball fits tightly against rubber or Teflon sealing seats. A lever, which you move, is connected to this ball. By moving the handle up and down, you adjust the flow by moving the ball relative to the seats. By moving the handle left and right, you change the ratio of hot and cold water by rotating the ball. The seal is ensured by the ball's pressure against the seals, which wear out or become coated with limescale over time.

A cartridge faucet operates differently. Instead of a ball, it uses a cartridge containing two tightly fitted ceramic plates. The lower plate is stationary and has holes for water inlet. The upper plate is connected to a lever and can rotate. When the holes in the plates align, water flows. The larger the area of alignment, the greater the pressure. Temperature is regulated by sliding the upper plate relative to the lower one, changing the flow rate from the different channels. This system is very reliable, operates silently and smoothly, but is sensitive to abrasive particles in the water, which can scratch the perfectly smooth ceramic surface.
Ball mixer: pros, cons and typical malfunctions
The main advantage of the ball valve mechanism is its relative simplicity and ease of repair. In most cases, the problem can be fixed by simply replacing one or two O-rings or cleaning the ball itself. Repair kits (called "repair kits") are inexpensive and widely available. The ball itself is made of stainless steel or chrome-plated brass and has a very long service life. However, this design also has its drawbacks. O-rings, especially in hard water conditions, quickly lose their elasticity, become coated with limescale, and begin to leak. This means more effort is required to turn off the faucet, and water may leak from under the lever.
Typical signs of a faulty ball mixer include water leaking from under the lever, the need to lift the handle further to achieve a good flow, uneven water temperature when the lever is in a fixed position, and creaking or sticking sounds when moving the lever. Most often, the culprit is worn seals or scale buildup on the ball itself. Less commonly, the pressure springs located under the sealing seats fail—they weaken and no longer press the seats firmly against the ball. Repairs require a minimal set of tools: a hex key for removing the lever, a flat-head screwdriver, and an adjustable wrench. It's important to remember to shut off the hot and cold water supplies before any work!

- Required tools: Allen keys (usually 4 or 5 mm), medium-sized flat-head screwdriver, adjustable wrench or soft-grip pliers, clean cloth, descaling agent (citric acid, special solution).
- Repair kit: Typically includes replacement O-rings of different diameters (for the ball and adjusting nut), pressure springs, and sometimes a new plastic bushing or retaining clip. It's advisable to purchase this before disassembling to ensure a precise fit.
- Disassembly procedure: Remove the decorative cap on the front of the lever, loosen the locking screw with an Allen key, and carefully remove the lever. Unscrew the decorative dome cap with an adjustable wrench. Unscrew the threaded ring securing the mechanism. Remove the ball and inspect it.
- Repair process: Thoroughly clean the ball and seat of any deposits. Replace all rubber seals from the repair kit. Check and replace the pressure springs if necessary. Reassemble in reverse order, first lubricating the moving parts with silicone grease.
Cartridge mixer: reliability and maintenance features
Faucets with ceramic cartridges are considered more modern and durable. A high-quality cartridge is designed for hundreds of thousands of opening and closing cycles and can last for decades without any maintenance. This is because there are no moving metal parts inside, and the ceramic is virtually impervious to wear. Water flow is easily and smoothly regulated, literally with the flick of a finger. However, this advantage has a downside. The cartridge is a non-removable unit. If it fails (for example, due to a grain of sand getting inside and scratching the plates), it is not repaired but replaced entirely. A new cartridge can cost up to half the price of the entire faucet.
Replacing a cartridge is a procedure even a novice can handle. The most difficult part is choosing the right replacement cartridge, as they vary in diameter, height, mounting style, and pin placement. The best way is to remove the old one and take it to the store. Plumbing fixture manufacturers (like Grohe, Hansgrohe, Frap) often use proprietary cartridges that may not be compatible with other brands. Universal cartridges exist, but their fit may not be perfect, leading to leaks or a stiff lever. After replacing the cartridge, it's important to properly adjust the lever position so that the "cold" and "hot" marks correspond to the actual values.

Detailed instructions for disassembling and replacing the cartridge
Disassembly begins in the standard manner: turn off the water and open the faucet to relieve any residual pressure. A retaining screw is hidden under the decorative cap on the lever body (it may have a blue or red mark). This screw often has a non-standard star-shaped head (Torx) or a hex key. Select the appropriate wrench. After unscrewing the screw, carefully remove the lever. Sometimes it "sticks" to the cartridge rod; in this case, you can gently rock it from side to side, being careful not to break the plastic components.
Next, unscrew the decorative nut that secures the cartridge to the faucet body. It can be metal or plastic. Use an adjustable wrench, first wrapping its jaws with electrical tape to prevent scratching the chrome. Once the nut is removed, the cartridge will be accessible. It may simply rest in its housing or be secured with a small bracket or screws. Carefully remove it, being careful not to damage the rubber sealing rings on its bottom. Inspect the housing in the faucet body: remove any debris, old grease, and check for cracks or chips.
- Removing the old cartridge. If the cartridge won't come out by hand, you can gently pry it out with a flat-head screwdriver. Never apply force to the ceramic part, as this could crack it. Always pry by the metal or plastic base.
- Selecting a new cartridge. Note the diameter (usually 35 mm or 40 mm), height, number and location of pins/holes at the bottom, and the shape of the top rod (round, flat-sided, or slotted). Photograph the old cartridge from all sides.
- Installing a new cartridge. The new cartridge should fit neatly into its socket, without any distortion. There are usually guide tabs and grooves on the cartridge body or the faucet body. Align them. Before installation, you can lightly lubricate the rubber seals with silicone grease to facilitate installation and ensure a better seal.
- Assembly. Install and tighten the pressure nut (without overtightening it!) Place the lever onto the cartridge stem, aligning it with the grooves. Tighten the locking screw. Replace the decorative plug. Turn on the water and test the faucet in all modes.
Repairing the shower-spout diverter in bathroom faucets deserves special attention. These diverters also come in different types: slide valves, cartridge valves, and push-button (pull-out) valves. Slide valve mechanisms are the most common. Their operating principle is simple: by turning the handle, you move an internal stem (slide valve), which redirects the water flow either to the spout (mouthpiece) or to the shower hose. Problems are usually related to wear of the rubber seals on the slide valve. To repair, remove the decorative cap, loosen the screw, and remove the diverter handle. Then, unscrew the slide valve itself, replace the O-rings, lubricate it, and reassemble it.
Push-button (pull-out) faucets are more sophisticated. Pressing the button locks the stem in the "shower" position. Pressing it again releases it, and the stem, under the force of a spring and water pressure, returns to the "spout" position. This is where the locking mechanism inside the button or the rubber rings on the stem most often wear out. When disassembling such a faucet, you'll likely find small springs, balls, and clips inside. Be extremely careful when disassembling to avoid losing these small parts. It's often easier to buy a repair kit specifically for your faucet model, which includes all the necessary gaskets and even new springs. After repairing, reassemble the unit, checking for smooth operation of the button and the absence of leaks in both modes.