








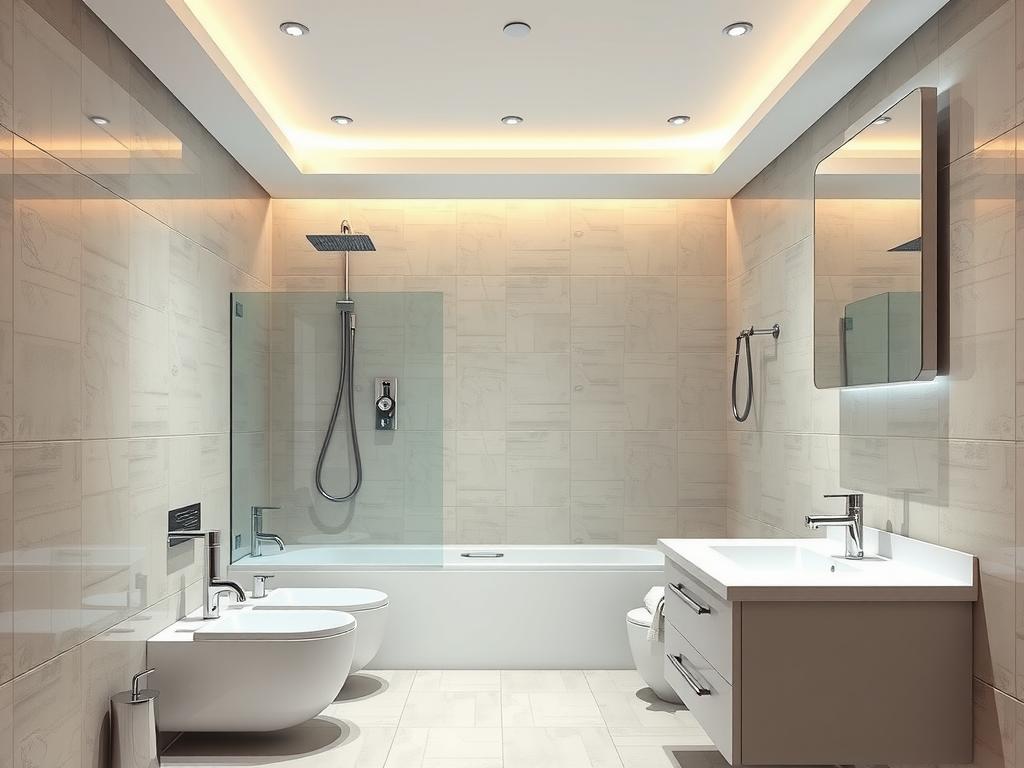
Finishing a bathroom is often seen as a secondary task during an apartment renovation, but this is a profound misconception. The comfort of the entire family, the hygiene of the space, and the longevity of the renovation depend on the quality of the finish in this small room. In this article, we'll detail three basic bathroom finishing methods that you can implement yourself, even without professional construction experience.
Why is it important to pay attention to the toilet's finishing?
A bathroom is a room with special operating conditions. Temperatures fluctuate constantly, humidity is high, and plumbing fixtures pose a risk of leaks. A poor-quality finish will quickly deteriorate, leading to mold, peeling materials, and unpleasant odors. A properly executed finish not only ensures an aesthetically pleasing appearance but also protects the structure from deterioration.
In my practice, I've encountered situations where skimping on bathroom finishing resulted in the need for a complete redo within a year. This is especially critical in older buildings, where ventilation leaves much to be desired. Therefore, I recommend considering bathroom finishing as an investment in the longevity of your renovation.
Preparatory work: the basis for a quality result
Before starting the finishing work, a series of preparatory steps must be completed. Skipping this step is the most common mistake homeowners make.
You should start with installing and checking the plumbing. Modern toilets allow for installation with maximum tightness. Pay special attention to the connections to the sewer riser, as this is where leaks most often occur. In small toilets, I recommend considering a concealed flush-mounted cistern, which not only saves space but also simplifies cleaning.
Insulating risers is a mandatory procedure that many ignore. Without insulation, condensation will constantly form on the pipes, creating ideal conditions for mold growth. Modern foam insulation is easy to install and lasts for decades.
Ventilation is the third key preparation step. Natural ventilation isn't always adequate, especially in sealed spaces. Installing a compact fan with a humidity sensor will solve the problem of excess humidity and unpleasant odors.
Three Ways to Finish a Toilet: A Detailed Analysis
1. Ceramic tile finishing: a classic of the genre
Ceramic tile remains the most popular material for bathroom finishing, and for good reason. Over 12 years of working with this material, I've become convinced of its unrivaled practicality. But success depends on the correct selection and installation.
When selecting tiles, it's important to understand the difference between wall and floor tiles. Floor tiles have a higher wear resistance rating (at least PEI III) and a slip-resistant coating. Using wall tiles on the floor will lead to rapid wear, while using floor tiles on walls will place excessive stress on the structure and potentially cause delamination.
The installation technique requires careful surface preparation. Walls must be level, with no differences greater than 2 mm per meter. For bathrooms, it's best to use moisture-resistant cement mortars—they hold the tiles more securely even under fluctuating humidity conditions.
From personal experience: when laying tiles in a bathroom, always leave a 1-2 cm gap between the tiles and the ceiling. This will allow for any movement in the structure and prevent cracking of the joints.
2. Plastic panels: fast and economical
Finishing a toilet with plastic panels is the ideal solution for those seeking high-quality results in a short timeframe and at minimal cost. Modern PVC panels have come a long way from their predecessors in terms of design and quality.
The key to working with plastic panels is installing the frame. I recommend using galvanized profiles instead of wooden slats. The metal doesn't warp due to moisture and lasts for decades. The frame must be strictly level—any unevenness will be visible on the finished surface.
When choosing panels, pay attention to their thickness—8-10 mm is ideal. Thinner panels may sag between the guides, while thicker ones are difficult to join. Surface quality determines ease of maintenance: glossy panels require more frequent cleaning, while matte ones hide minor stains better.
An interesting observation from practice: in small toilets, vertical panel orientation visually increases the height of the room, while horizontal orientation expands the space.
3. Washable wallpaper: an unexpected solution
Although this finishing method is less popular today, it can be optimal in certain situations. Modern washable wallpaper, especially those made from fiberglass, is durable enough for use in bathrooms.
The main advantage of wallpaper is the ability to quickly update an interior without extensive renovations. However, this option requires perfectly prepared walls and high-quality waterproofing in areas prone to splashes.
Wallpaper pairs beautifully with plastic panels or tiles in a combination finish. For example, you can tile the area around the toilet up to a height of 1.5 meters, and then wallpaper the area above that. This is both practical and aesthetically pleasing.
When choosing an adhesive, be sure to use one with antifungal additives. Regular wallpaper glue will quickly become a breeding ground for mold in a bathroom.
Comparative analysis of materials
To help you make a choice, I will provide objective advantages and disadvantages of each method:
- Ceramic tiles: 20+ year service life, absolute moisture resistance, difficult installation, high cost of materials and labor
- Plastic panels: easy installation, affordable price, good moisture resistance, limited service life (8-12 years), susceptible to mechanical damage
- Washable wallpaper: quick to apply, rich in design, easy to renew, insufficient moisture resistance for constant contact with water, demanding in terms of substrate preparation
Practical installation tips
Regardless of the finishing method chosen, there are universal rules that will ensure a high-quality result:
Before starting work, completely shut off the water supply to the riser and check for leaks. Seal all access openings with foam to prevent odors from escaping from adjacent rooms.
When wiring for lighting, use moisture-resistant, double-insulated cables. Installing power outlets in the toilet is not recommended, but if necessary, choose models with a protection rating of at least IP44.
Pay special attention to the doorway. Install a threshold 1.5-2 cm high to prevent water from escaping in the event of a leak. The door should open outward for safety.
When finishing your decor, don't forget about small but important details: a coat hook, a shelf for small items, and a toilet paper holder. These elements add comfort and completeness to the interior.
Remember: a high-quality bathroom finish isn't just about aesthetics; it guarantees the hygiene and durability of the space. Choose materials that suit your budget and skills, don't neglect the prep work, and you'll enjoy the results for years to come.